Warrior I Tutorial
Today we’re going to dive into the basics of how to do the Warrior I pose in a way that honours your needs and the alignment of your body.
One of the myths of Warrior I is that we need to have our legs really far apart in a wide stance. Let’s bust that so that we understand how to move with integrity for our hips and the information we’re getting from our own body.
In yoga, we want to release the expectation that a pose should look a certain way and instead, allow our body to give us information about how each posture feels for us and move mindfully and in accordance with that feedback. Over time, in our yoga practice, we strengthen that ability to listen and respond to the thousands of messages we get every day from our body.
Let’s learn how to do that with our Warrior I pose:
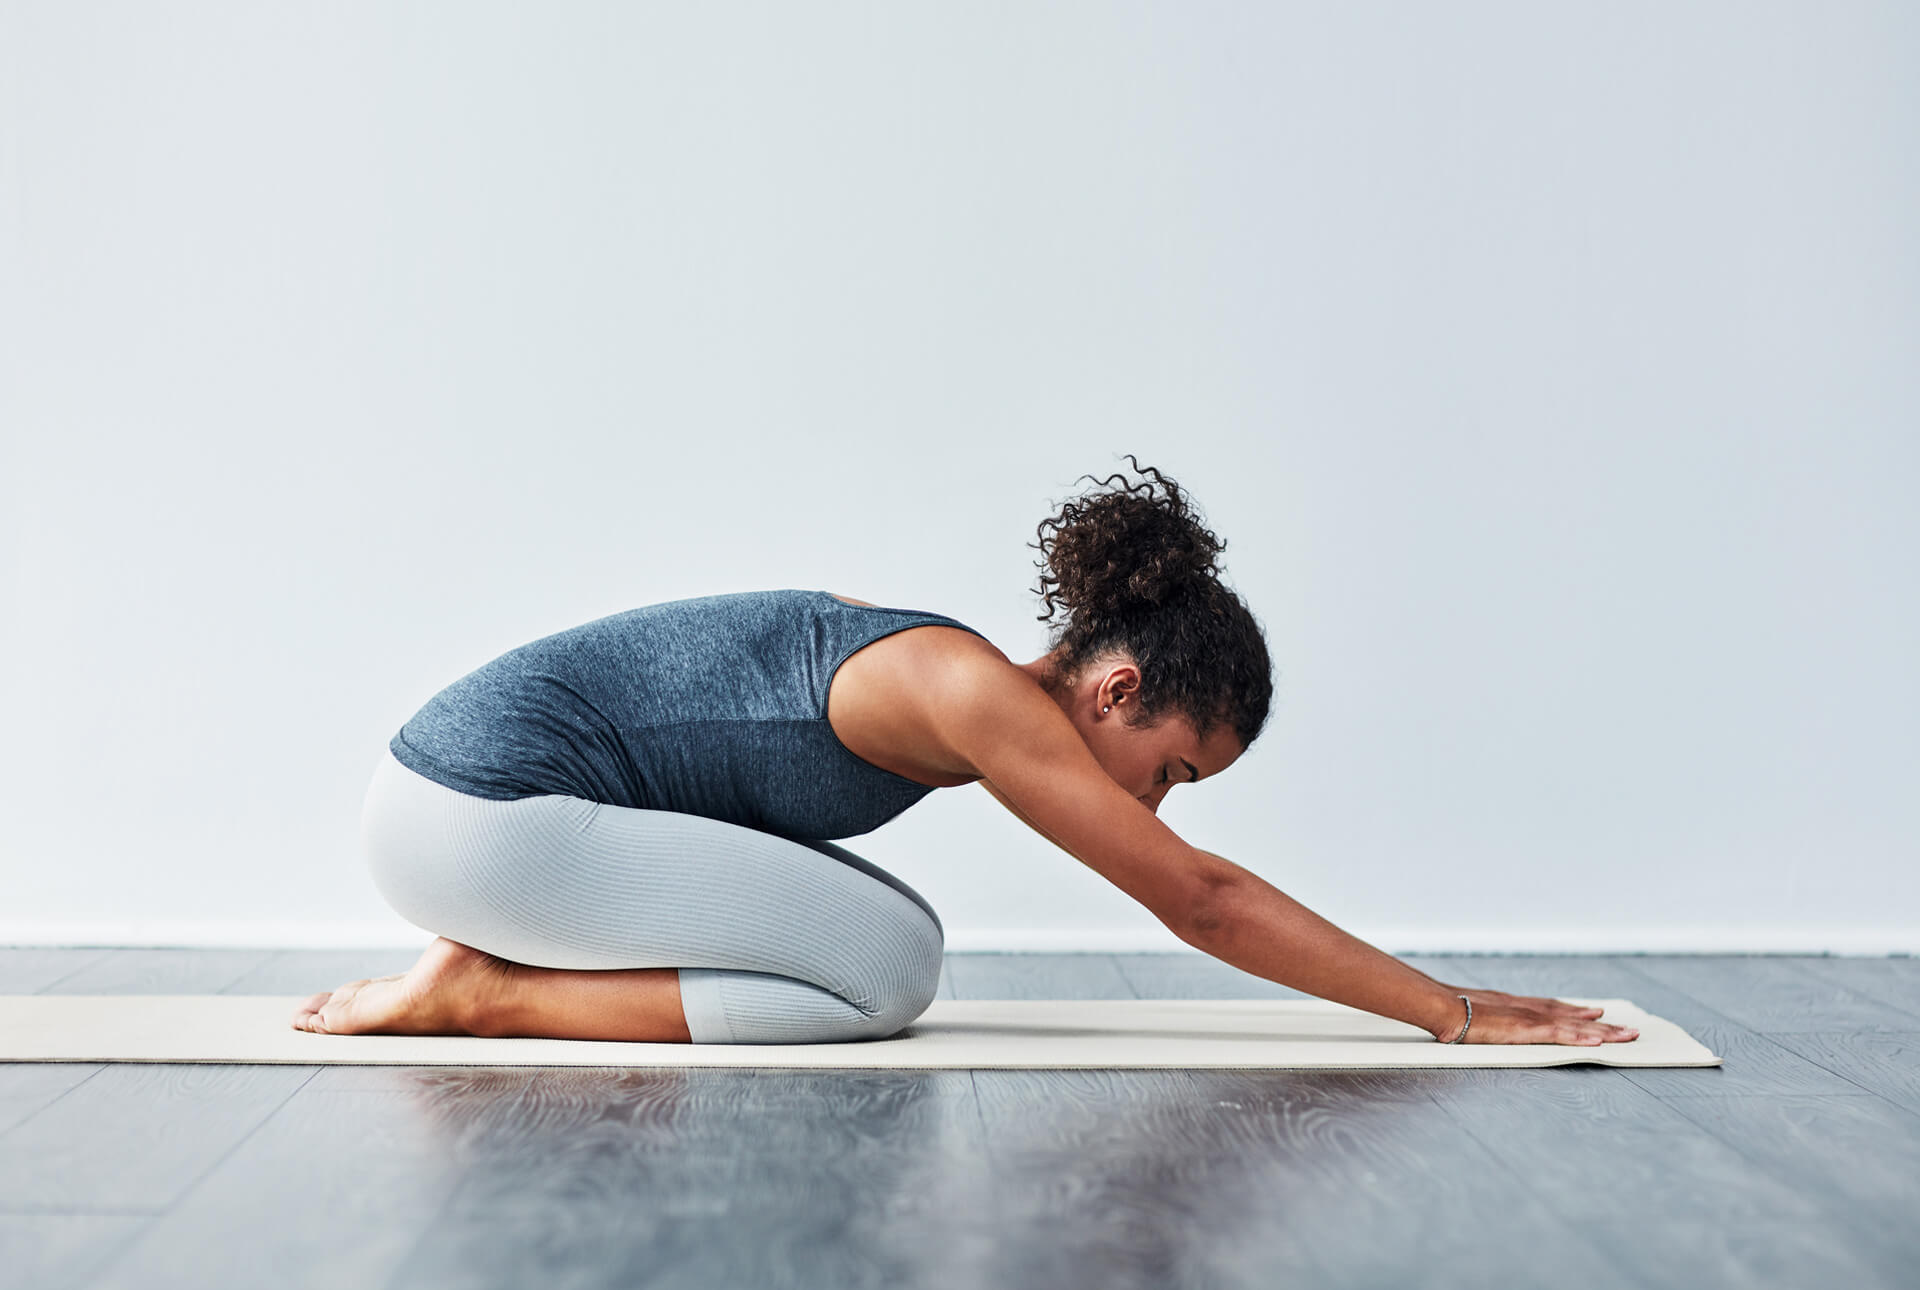
Begin at the top of your mat in Mountain pose.
Here, we want our feet planted hip width distance apart. If it feels safe for you, close your eyes and if not, look down at the floor and begin really to bring your attention into your feet. Find the pads behind the big toes and pinky toes and then find the centre of the heel. Imagine a triangle on the bottom of each foot and create a seal onto the mat, evenly distributing your weight and balance between both legs and feet.
Roll your shoulders down back, bring a sense of ease into your upper body and breathe here, anchoring down your legs and through the soles of your feet. Pay attention here to how your feet feel, do you turn more inwards or outwards? Are you scrunching up your toes? Can you relax and root down, drawing the energy down towards the mat?
As you press down into the feet, the upper body lifts up, so it’s like gravity is taking the pelvis, the legs and the feet down, but because those are so anchored to the earth, your upper body can surrender upwards. Mid spine lifting towards the sky with ease and lifting through the crown of the head.
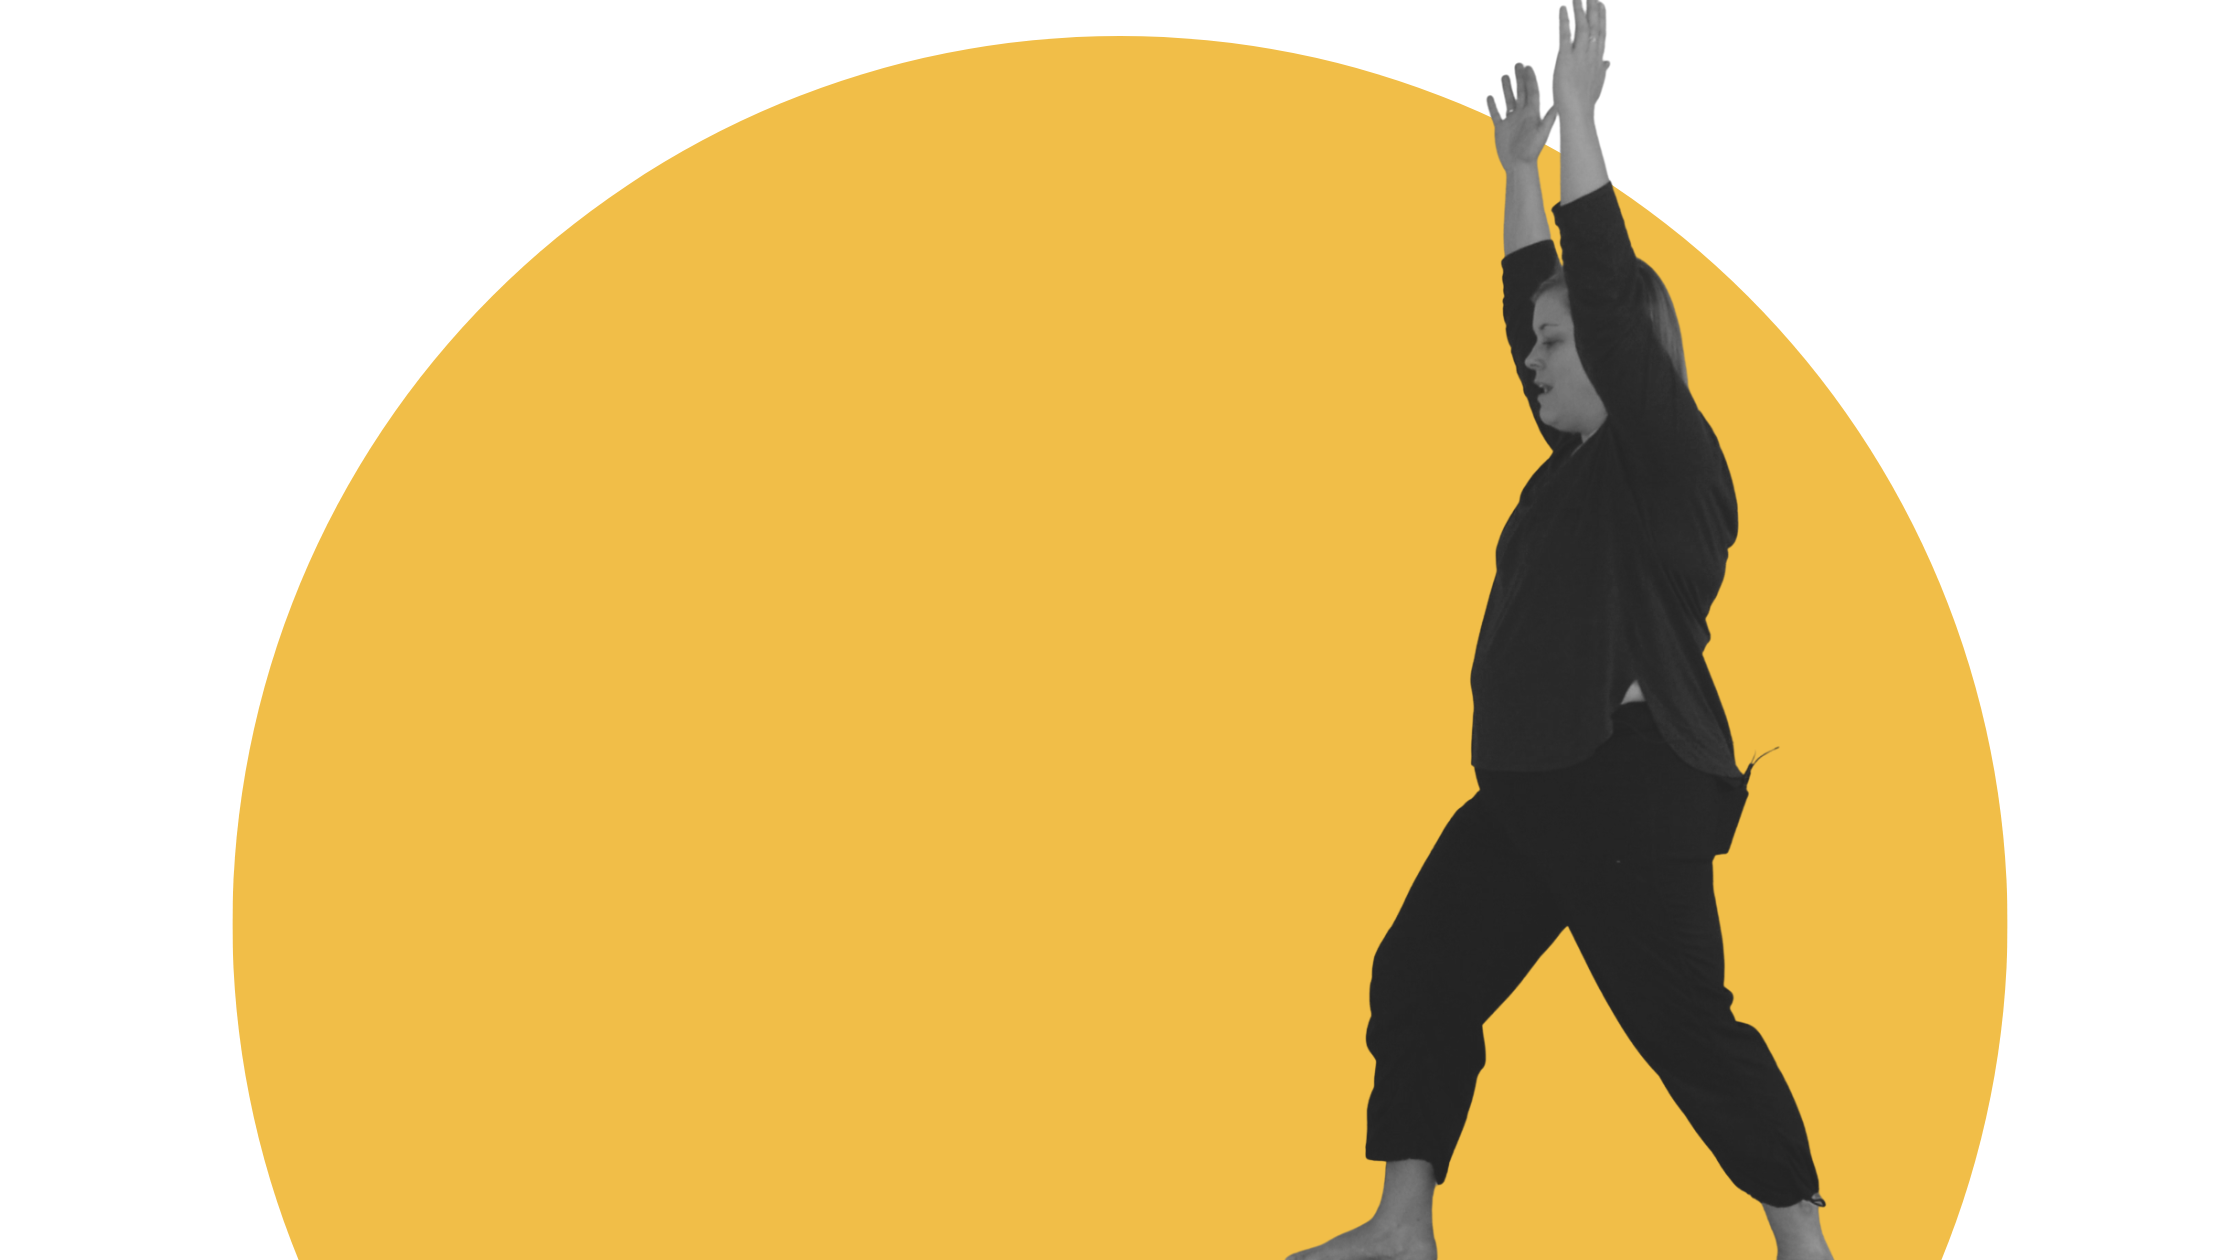
From this really grounded place, we can move into our Warrior I.
Take a step back with one foot at a distance that makes sense for you and your body. We don’t want to take a giant or forceful step, it should be much smaller than you might think you should take.
Your toes on the front foot are pointing towards the top of the mat and your toes on the back foot are also forward but towards the outer corner slightly, again, in a way that feels comfortable for your body.
Gently bend into the front knee and come into a soft lunge, opening up that back thigh bone a little so that you don’t feel a strong pull through your calf or ankle. You can reposition how wide your stance is here if you need to.
From here we want to make sure that we are not dropping through that back knee. Instead, pull down through the back ankle drawing your heel down towards the earth to protect the knee joint.
In Warrior One, our hips are guiding toward the front of the mat but we don’t want to force both hips to be square with the front of the mat because this can cause injury over time to the lower back or hips for many people. Honour your body’s needs here. For most people, their hips will be off to the side slightly.
From here we can lengthen the arms up, softening the shoulders down and opening across the chest. Nice, deep, slow breaths here as you hold.
When you’re ready, step forward back into your Mountain pose. Breathe and ground here for a few moments or as long as you need before stepping the opposite foot back and doing Warrior I on the other side.
We’d love to hear from you, what’s another pose you would like a step-by-step breakdown on?